It seems every year at the SEMA Show that more vendors pop up offering a headlight restoration product. From a few companies that offered a slew of detailing gear and compounds, now anybody with a selling spot had a miracle liquid cleaner for those pesky glazed over headlights.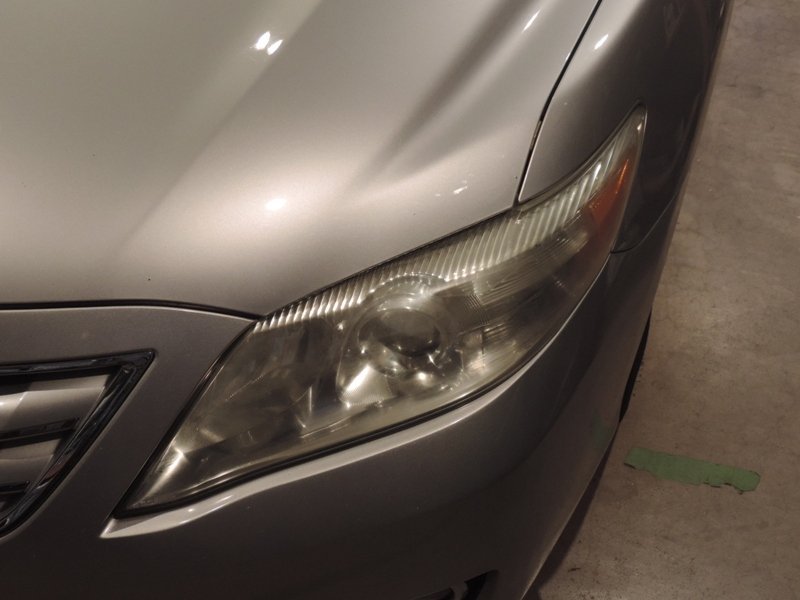
Headlight history
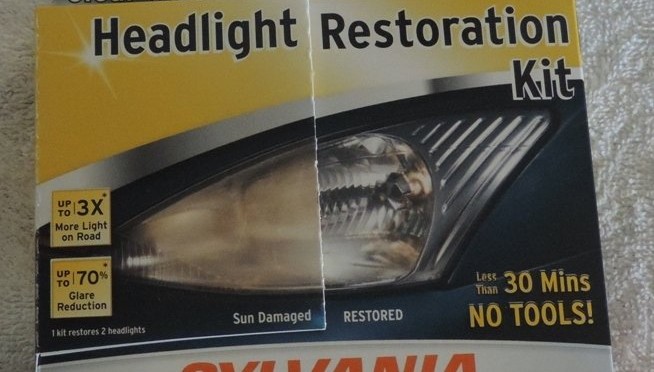
Ever since the car manufacturers dropped using glass headlights, (anybody remember the sealed round H-4’s ?), which was initiated in 1983; the movement to plastic lenses has also created a market to repair the glazed, cloudy lenses. Originally many just paid their mechanic to swap in a new lens but that option gets more and more expensive. So now companies offer up various cleaners to restore the lens to like new condition.
Headlight restoration
Some sites will recommend toothpaste or even bug repellant to clean lenses but honestly these are short term fixes that mask the issue. Most legitimate cleaners work by smoothing out the rough surface and then polishing the plastic back to new. If the surface has really degraded, the repair process might need to actually start with sandpaper to get in all the deep crevices.
Headlight Restorer and Protectant from Chemical Guys
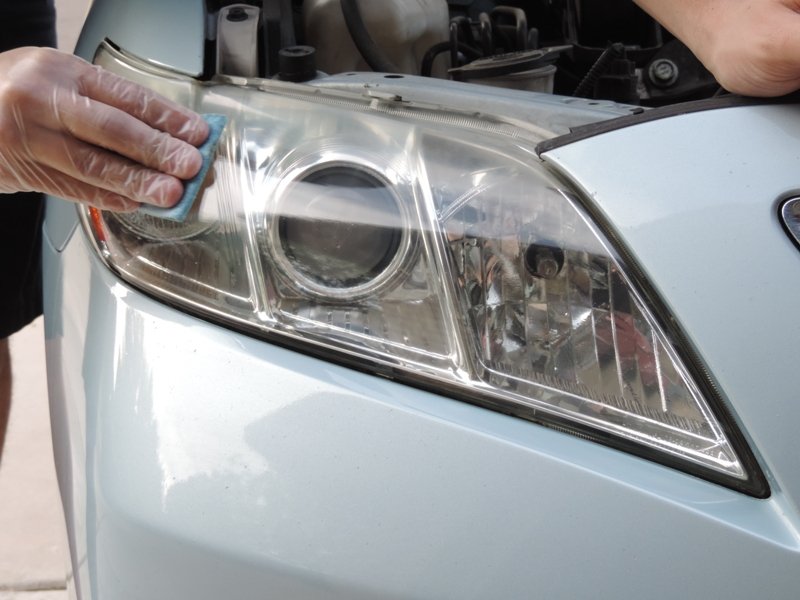
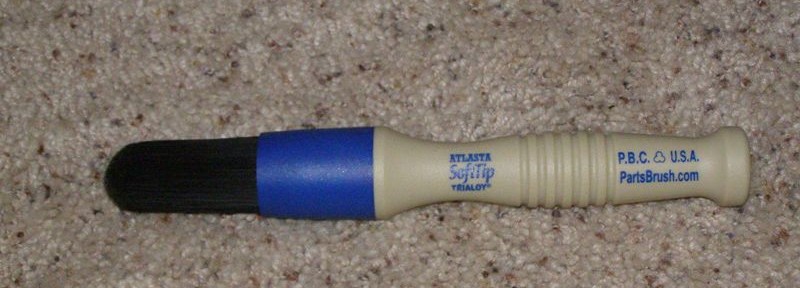
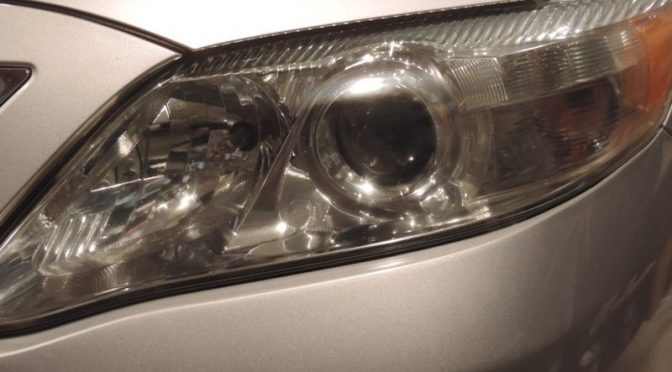
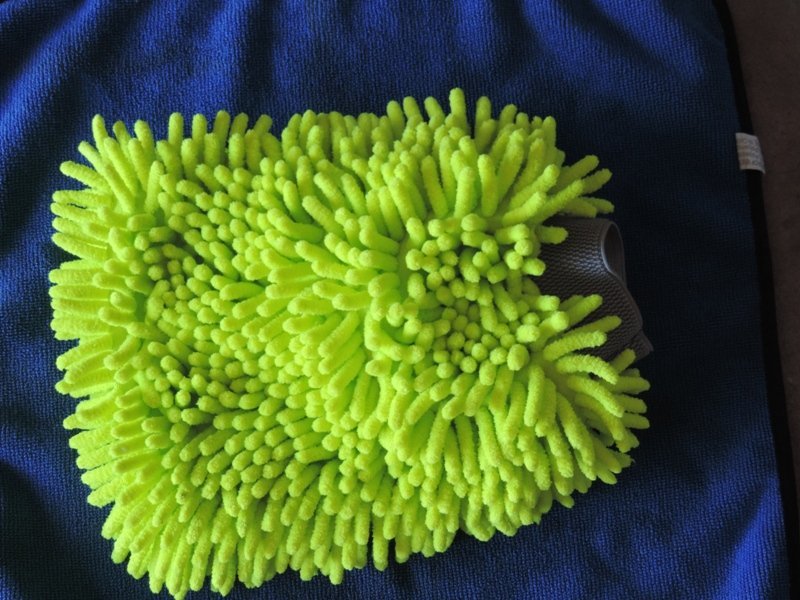
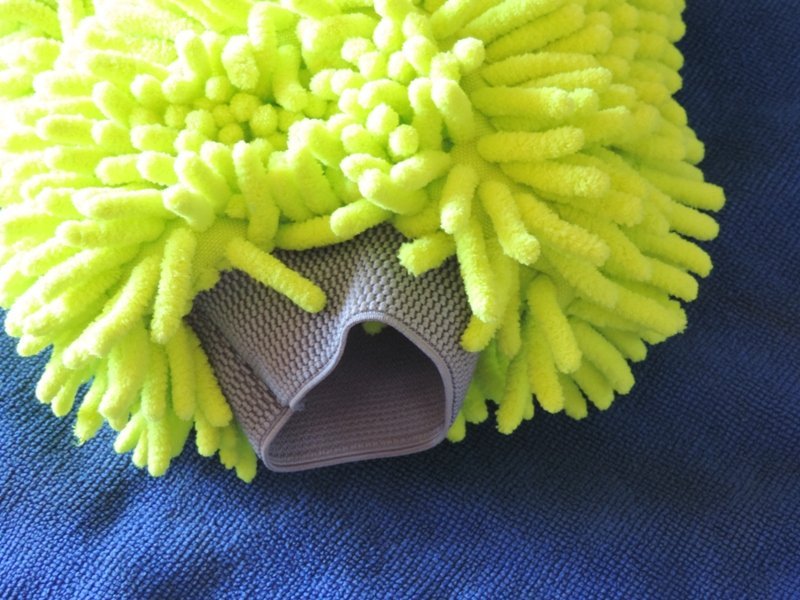
We had the chance to try out the Headlight Restorer and Protectant liquid from Chemical Guys, a leader in the boutique car detailing business. These guys (no pun intended) know their stuff and I was impressed with the outcome. Our test car was a 2010 Camry whose lenses have been exposed to some intense Arizona heat. The directions call for spreading 3 – 6 dots of Headlight Restorer and Protectant over a microfiber towel or applicator pad, then scrubbing the hazy headlight lens vigorously until the polish turns clear and finally wipe off residue with a clean microfiber towel and inspect work. Repeat as necessary.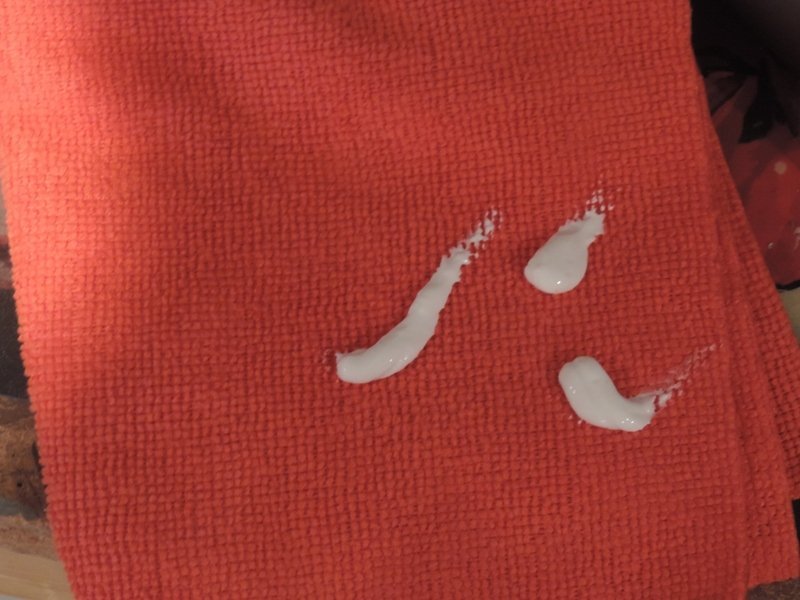
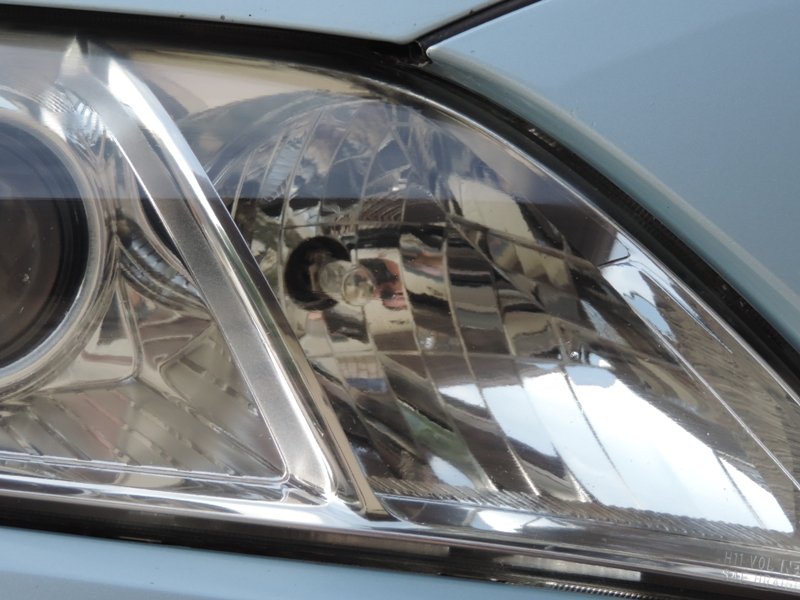
The protectant part of this product is equally important because after cleaning and polishing the lens, the sun is still going to beat down on that plastic. That means you need some sort of UV resistant layer to help prolong the squeaky clean look. Chemical Guys uses sealant technology to preserve that look and keep the sun at bay.
We were impressed with the ease of use, no need for an electrical buffer, and the look is darn right impressive. We’ll keep an eye on the lenses and see how they hold up over the next few months, so subscribes to this blog and see how the product holds up in Arizona’s brutal heat.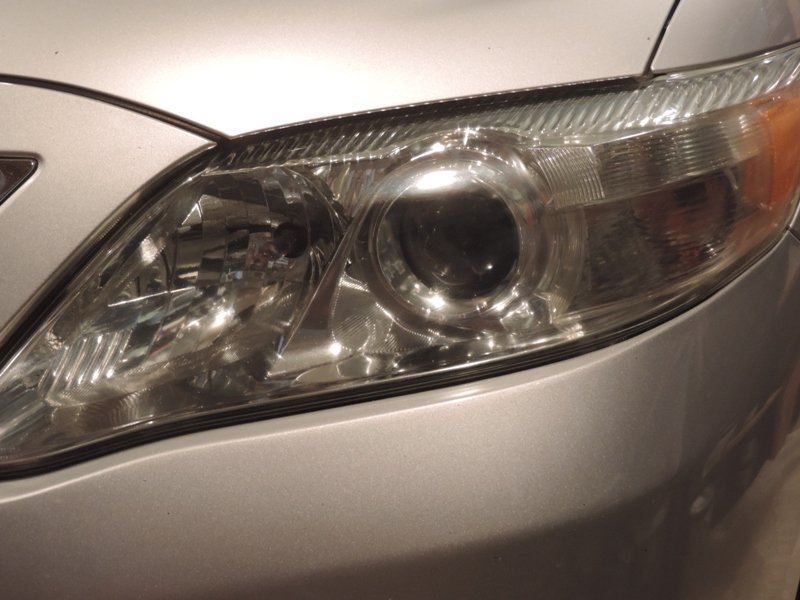
PS Technically these electrical components are headlamps, and the light they emit are headlights but I don’t know anybody who calls them headlamps. Do you?


[jetpack_subscription_form]


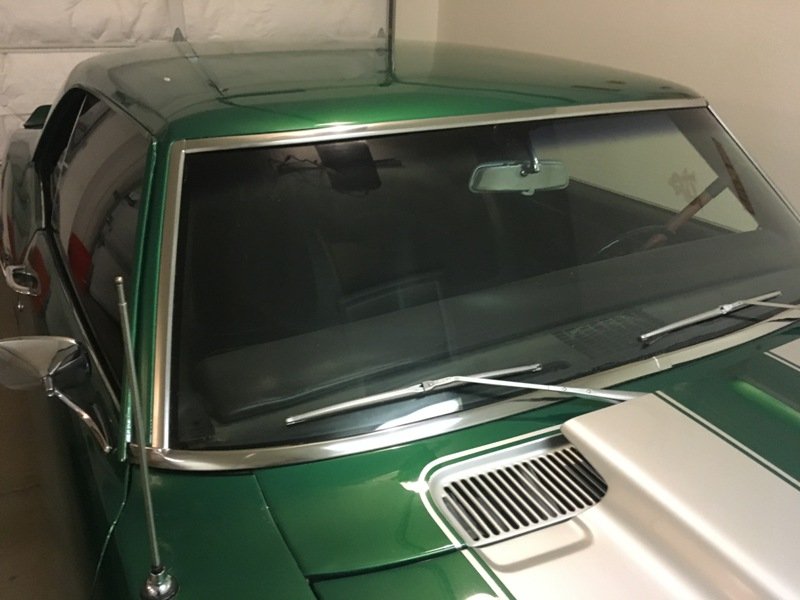
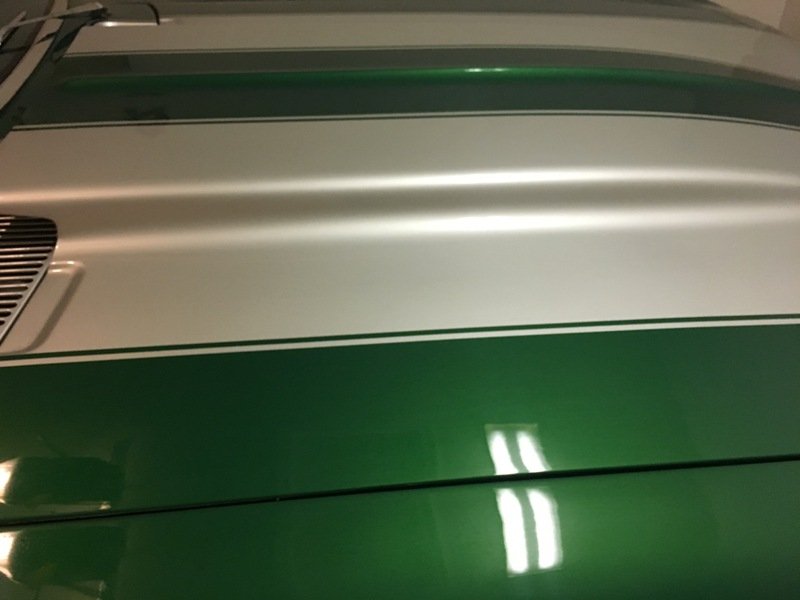


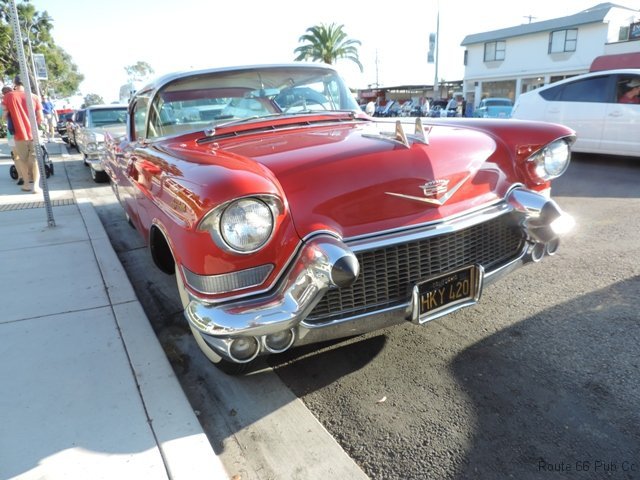
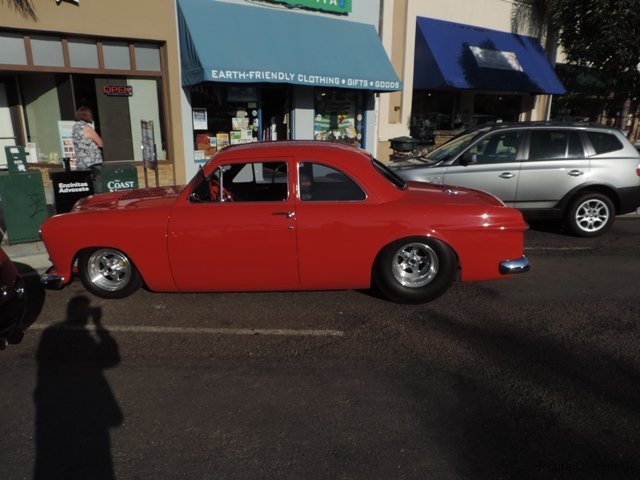
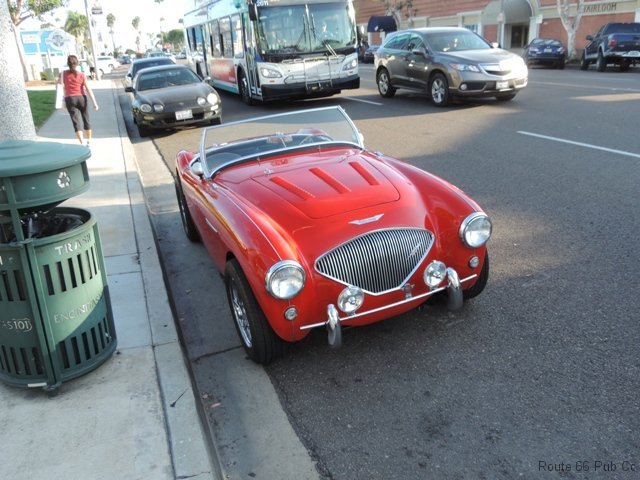
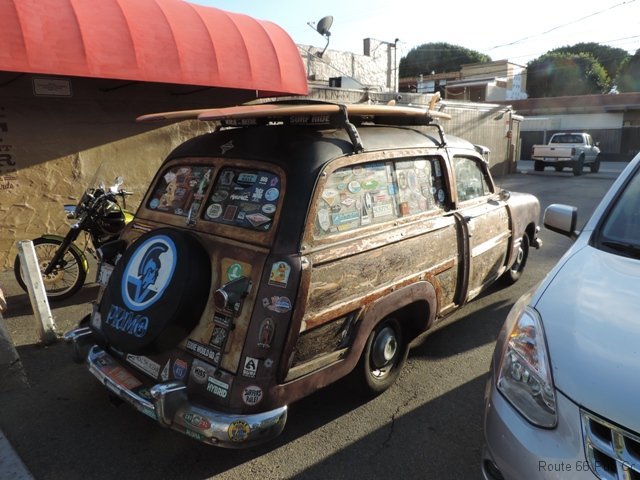
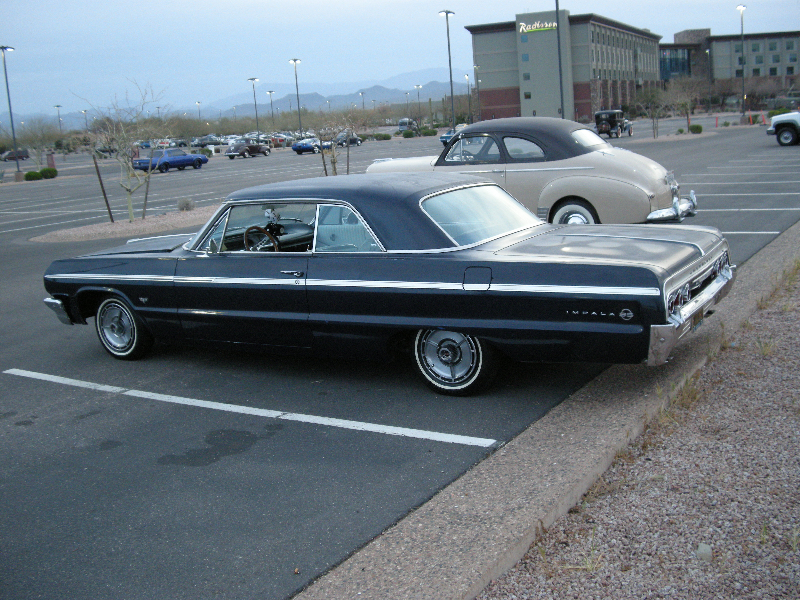
 I especially likedthe innards were modified to be reliable but the exterior was kept “as is” essentially.


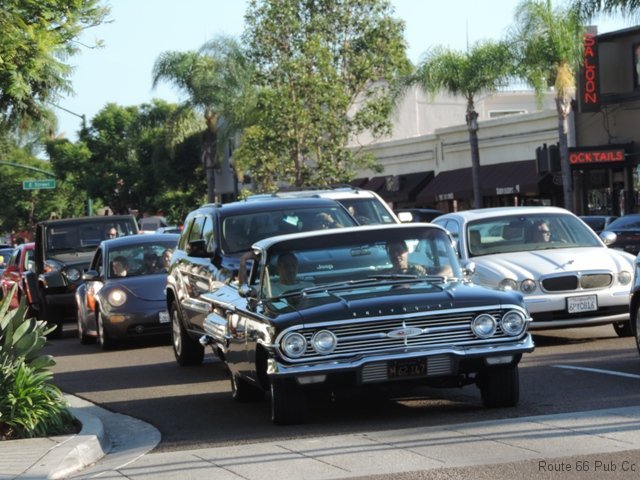
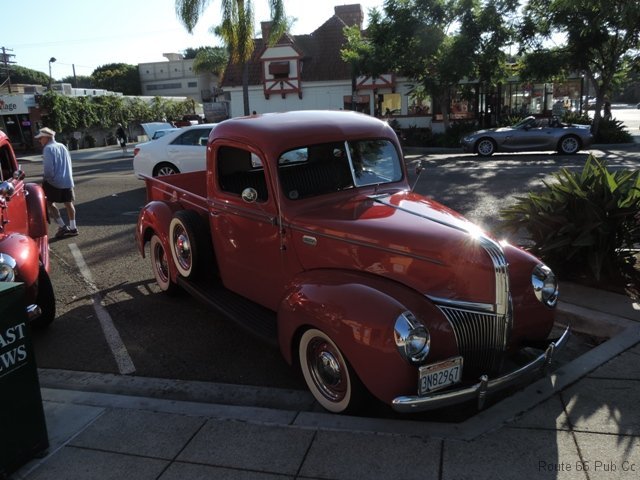
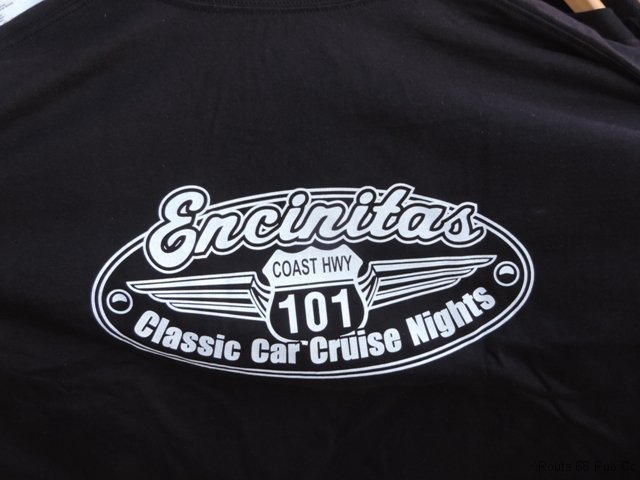
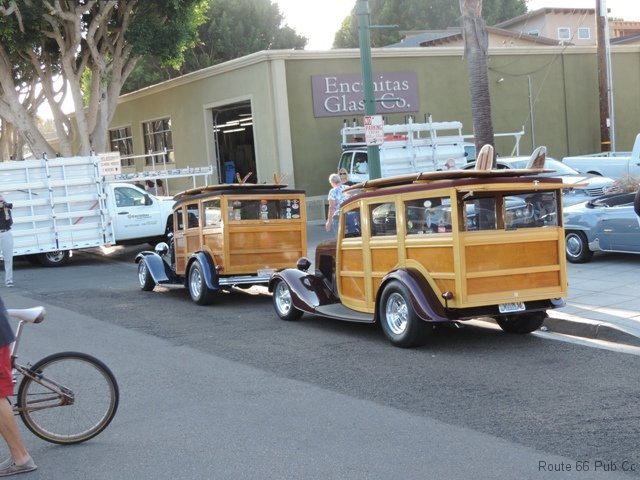
 Thursdays are for Cruising
 Along with the cars, bands can be heard performing and of course cars are always cruising the main drag. Plus many adjacent bars and restaurants are open with specials offered for the onlookers.